Showing posts with label Food. Show all posts

Sunday, 5 April 2015

Life: And So It Begins......

Usually when I kick off a new "Series" I'm full of anticipation and excitement to share the journey with you guys, and have you hold me accountable. And then I burn-out. Pretty damn quickly.

So this time I'm going to try something different, something a little more chilled.

It's true, I am starting out on a focused Healthy Eating and Exercise journey. We leave for our holiday in Mexico and LA in just over 8 weeks and I am NOT feeling good about my body or health. I had a Shoulder operation at the end of January, and although I'm only just coming up to 10 weeks post-op it feels like forever since I was able to exercise and use my body the way I want to.

The current situation is this. All of my clothes feel a bit tight. When I bend or crouch I feel a roll of fat pop over the top of my jeans or trousers. My belly feels big and bloated, and my thighs and butt are lacking the tone they used to have. I know I'm not "fat" and my BMI is perfectly healthy - I just feel gross.

It's time to get back on the bike, so to speak.

Over the last few months my nutrition hasn't been terrible. There have definitely been a few too many sweet treats and deserts. And I have been ridiculously busy with work so lunch has slipped into "grabbing a quick sandwich" and inhaling it. My body hates too much bread - apparently there are actually scientific indications why some people can eat carbs like they're going out of fashion and others can't. It's all to do with how much Amylase your body produces - the amount is genetically pre-disposed, which sucks if you have a low amount like me. Anyway, it's safe to say I need to choose not to.

And there is always a choice. There is no "can't" have this or that. Just, "I choose not to have X because I know it doesn't make me feel great". It feels so much kinder to yourself when you put it that way. As always, no food is banned or off-limits. Warning: There will be Pizza and possibly a Krispy-Kreme along the way.

So, what's in store over the next 8 weeks? A focus on exercise - the easy and fun way, and making some conscious decisions on nutrition. Nothing too cray.

Come on the journey with me? I can't promise daily blogging but I will be talking about what I've been eating and doing. And sharing my stats weekly. You know I don't believe in measuring weight but the other stuff - definitely.

In summary, I'm just going to.....

Source

Monday, 5 January 2015

Food: Herbalicious

Uh huh. Herbalicious....like Bootylicious but with herbs, no?

Anyhow, I digress. On Friday, I wrote about how one of my Resolutions for 2015 was to Waste Less Food. And as a result - save £££.

How many half-used packets of Fresh Herbs do you throw away? I'll bear my shame, I chuck them out of the veg drawer more often than I like to admit. As I did my Fridge Scan yesterday I noticed that I had half a packet of Fresh Thyme and the same of Parsley that were starting to look a little sorry for themselves. Instead of turning a blind eye, I resolved to try and do something with them.

A quick Google search later and I found that one of the easiest ways to preserve your herbs is to freeze them, in an ice cube tray with either water, butter or olive oil.

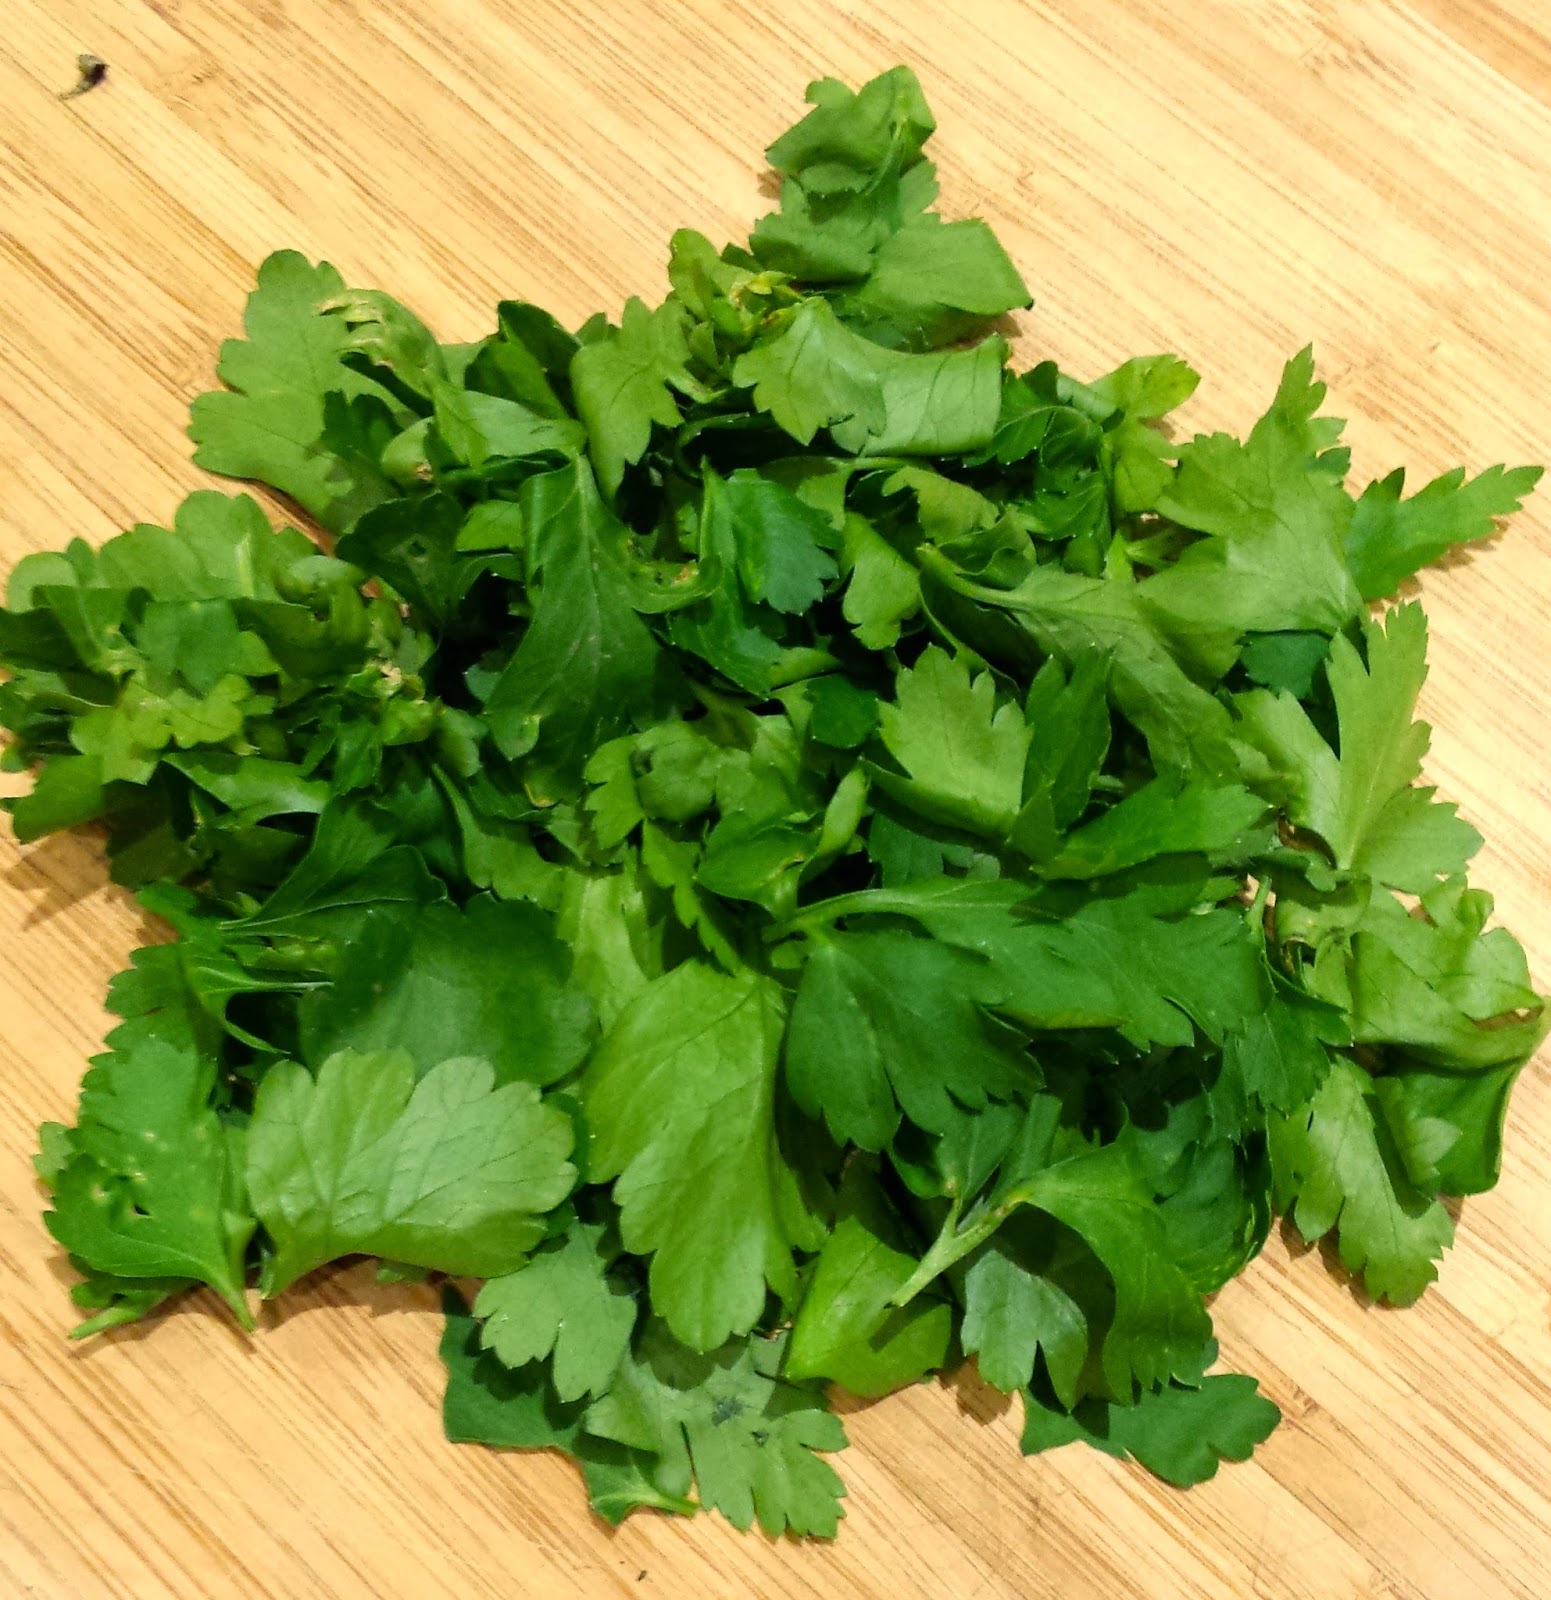
Firstly you need to prep your Herbs. Wash 'em and get them off those stalks and ready to use. I thought this would take FOREVER. I was wrong, just over 5 minutes later and my herbs were ready to rock and roll.


Take an ice-cube tray, and fill each "cube" 2/3rds full with your herbs.


Top up the rest with your liquid of choice. For the Thyme I chose Olive Oil.


And for the Parsley I chose water.


I left them in the freezer over night then popped out my little flavour cubes this morning.

Such sweet satisfaction. I can't wait to add these to soups, risotto's etc. I alway use the "absorption method" when cooking rice and quinoa so these will help add a little fresh herby flavour kick to those grains.

All for the price of something I was going to throw in the bin, and 5 mins work. Boom.


Friday, 2 January 2015

Food: Spinach and Feta Pie with Sweet Potato Crust (Wheat & Gluten Free, Budget Friendly)

New Years Resolution #3 - Reduce Food Waste.....

With that in mind I had a good rummage in the Fridge and Freezer this morning to see what needed to be eaten. I came across nine Sweet Potatoes, half a bag (500g) of Frozen Spinach with an expiration date of Dec'14 (but y'know YOLO and all that jazz) and two thirds of a pack of Feta Cheese that had been open a few days.


A quick Pinterest search later and I came across the following recipe.

http://www.fourteenforty365.com/2014/04/weekend-meal-prep.html?m=1

I adapted it to suit what I had around, and shortly after the following recipe was born.

Spinach and Feta Pie with Sweet Potato Crust

2 x Sweet Potatoes 38p (19p each - so much cheaper if you buy them in a big net, and they last ages)
Coconut Oil (Or Olive Oil) 20p
1/2 Large Onion 16p
1 Garlic Clove 2p
500g Frozen Spinach 75p
4 Medium Free Range Eggs 67p (£1 for 6 in Tesco)
100g Feta 80p
Salt & Pepper

Preheat your oven to 180 degrees fan.

To make the "crust" you need to peel and finely slice those Sweet Potatoes. I used a Mandolin, but if you don't have one a steady hand and a sharp knife will work.


Melt a tbsp of Coconut Oil in a cup (10 seconds in the microwave) and use it to brush your dish and Sweet Potato slices.


Pop your crust in the oven for about 15-20 minutes.

I cooked my Frozen Spinach in a saucepan with a couple of tablespoons of water and then drained it to get rid of any excess moisture.


Whilst your Spinach is cooking, slice your onions and mince your garlic. Soften together in a pan with a small blob of Coconut Oil and when the Spinach is done, add it to the onion and garlic. Cook for another couple of minutes over a medium heat. Season with Salt and Pepper.


Remove your Potatoes from the oven. They should be just beginning to colour around the edges. Don't be alarmed if they shrink or there's gaps in between, the spinach and eggs will sort that out!


Add your Spinach mixture and crumble the Feta into the pie. Whisk together your eggs and pour over.


Pop back into the over for 30 minutes and then devour!


I cut mine into 6 portions. We ate two for lunch today and the others will be great for snacking over the weekend.

We had ours with a side salad. Just some leaves, tomatoes and cucumber. Nice n simple, and a super-satisfying way to use up some food that was just lurking about. This recipe is also budget friendly coming in at around 50p a Portion.


Any leftover slices of Sweet Potato are easy to make into Sweet Potato Crisps. Heat some oil on a baking sheet in the oven (whilst you're cooking your pie) add your "crisps" after a few minutes and toss in the oil with some Salt and Pepepr. Pop back in the oven and check after about 5-7 minutes. Done. And seriously yum.


Wednesday, 5 March 2014

Food | Chocolate Brownies {Wheat Free & Gluten Free}

So I finally got around to baking the Chocolate Brownies I talked about in my Friday Favourites a couple of weeks ago.

Why, oh why have these not been in my life sooner?!

And who knew that Black Beans could form the basis of something so yummy?

Too many questions!


This isn't a recipe post as such. If you click on the link above it will take you directly to the SkinnyTaste one.

I pretty much followed Gina's recipe to the letter, but just a note you need to invest in some "cups" for this one. You can get them cheaply on Amazon or TK Maxx.

Also, my main Food Processor is still in storage so I just blitzed the Black Beans with the Almond Milk in my Mini Food Chopper and then mixed the rest of the ingredients by hand.

For next time I would definitely consider adding some roughly chopped nuts (pecans or walnuts), for some extra crunchy texture. But if you're not a fan of nuts these are amazing as is.


For the perfect treat, serve with a pot of your favourite TEA!

Mine is still the Teapigs Chai....


Just a word of caution..... these are Gluten Free and Wheat Free, but not Sugar Free!

Brownies in any format should still be classed as a treat! Enjoy x

Tuesday, 4 March 2014

Food | A Moroccan Thank You Meal {Chicken Tagine with Preserved Lemon, Green Olives & Thyme}

We've had a lot of help with our house, and feel incredibly lucky to have such handy, and generous, friends and family.

I cooked up this Tagine as a Thank You to my Big Bro. To be honest, it's the very least I can do, he's been an absolute gem at Kitchen Fitting and saved us a small fortune.

Good job this little Tagine turned out to be very tasty indeed then!

I got this recipe from a book called Tagines & Couscous by Ghillie Basan. I contacted her Publisher Ryland, Peters & Small to see if I could share the recipe with you guys and I can, woop!


Here's what you'll need:

- 8-10 Chicken Thighs or 4 Whole Legs
- 1 tbsp Olive Oil plus a knob of Butter
- 2 Preserved Lemons (I used these ones), cut into strips
- 175g Pitted Green Olives
- 1-2 tsps of dried Thyme or Oregano
- Cous Cous or Quinoa to Serve

For the Marinade:

1 Onion, grated
3 Garlic cloves, crushed
25g fresh Ginger, peeled and grated
Small bunch of fresh Coriander, finely chopped
A pinch of Saffron threads
Freshly squeezed juice of 1 Lemon
3-4 tbsps Olive Oil
Sea Salt & freshly ground Black Pepper


Start by preparing your Marinade. Mix together all your ingredients in a bowl.


Place your Chicken in a shallow dish and rub the marinade into the skin. Cover and refrigerate for 1-2 hours.


When you're ready to cook, heat the olive oil and the butter in a heavy-based casserole.


Remove the chicken pieces from the marinade and brown them in the oil.


Pour in the leftover marinade, and add enough water to come half-way up the sides of the chicken pieces.


Bring to the boil, reduce the heat, cover and simmer for about 45 minutes, turning the chicken from time to time.


Add the preserved lemons, olives and half the dried thyme to the tagine.


At this point the recipe says to cover and simmer for a further 15-20 minutes.

I transferred mine to an actual "tagine" and popped it in a pre-heated 180 degree oven to finish the cooking time. I think if you bothered to schlepp a Tagine all the way back from Marrakech you should probably use it.

Nope, not a bone of contention between Dan and I at all. Who would make their boyfriend a) haggle for said tagine b) realise you wanted to buy another tagine as a gift, and ask him to haggle some more and c) carry said tagines across a very hot and dusty souk back to our hotel, only to be very rarely used?? Nope not me, absolutely not.

Anyway, I digress....

However you decide to finish the cooking, when you're done season to taste with salt and pepper and sprinkle the remaining thyme over the top.


The recipe says to serve with Ghillie's Plain, Buttery Couscous, but I'm trying to be wheat and gluten free for the most part so I served ours with Quinoa and Spinach and a flourish of fresh coriander on top!


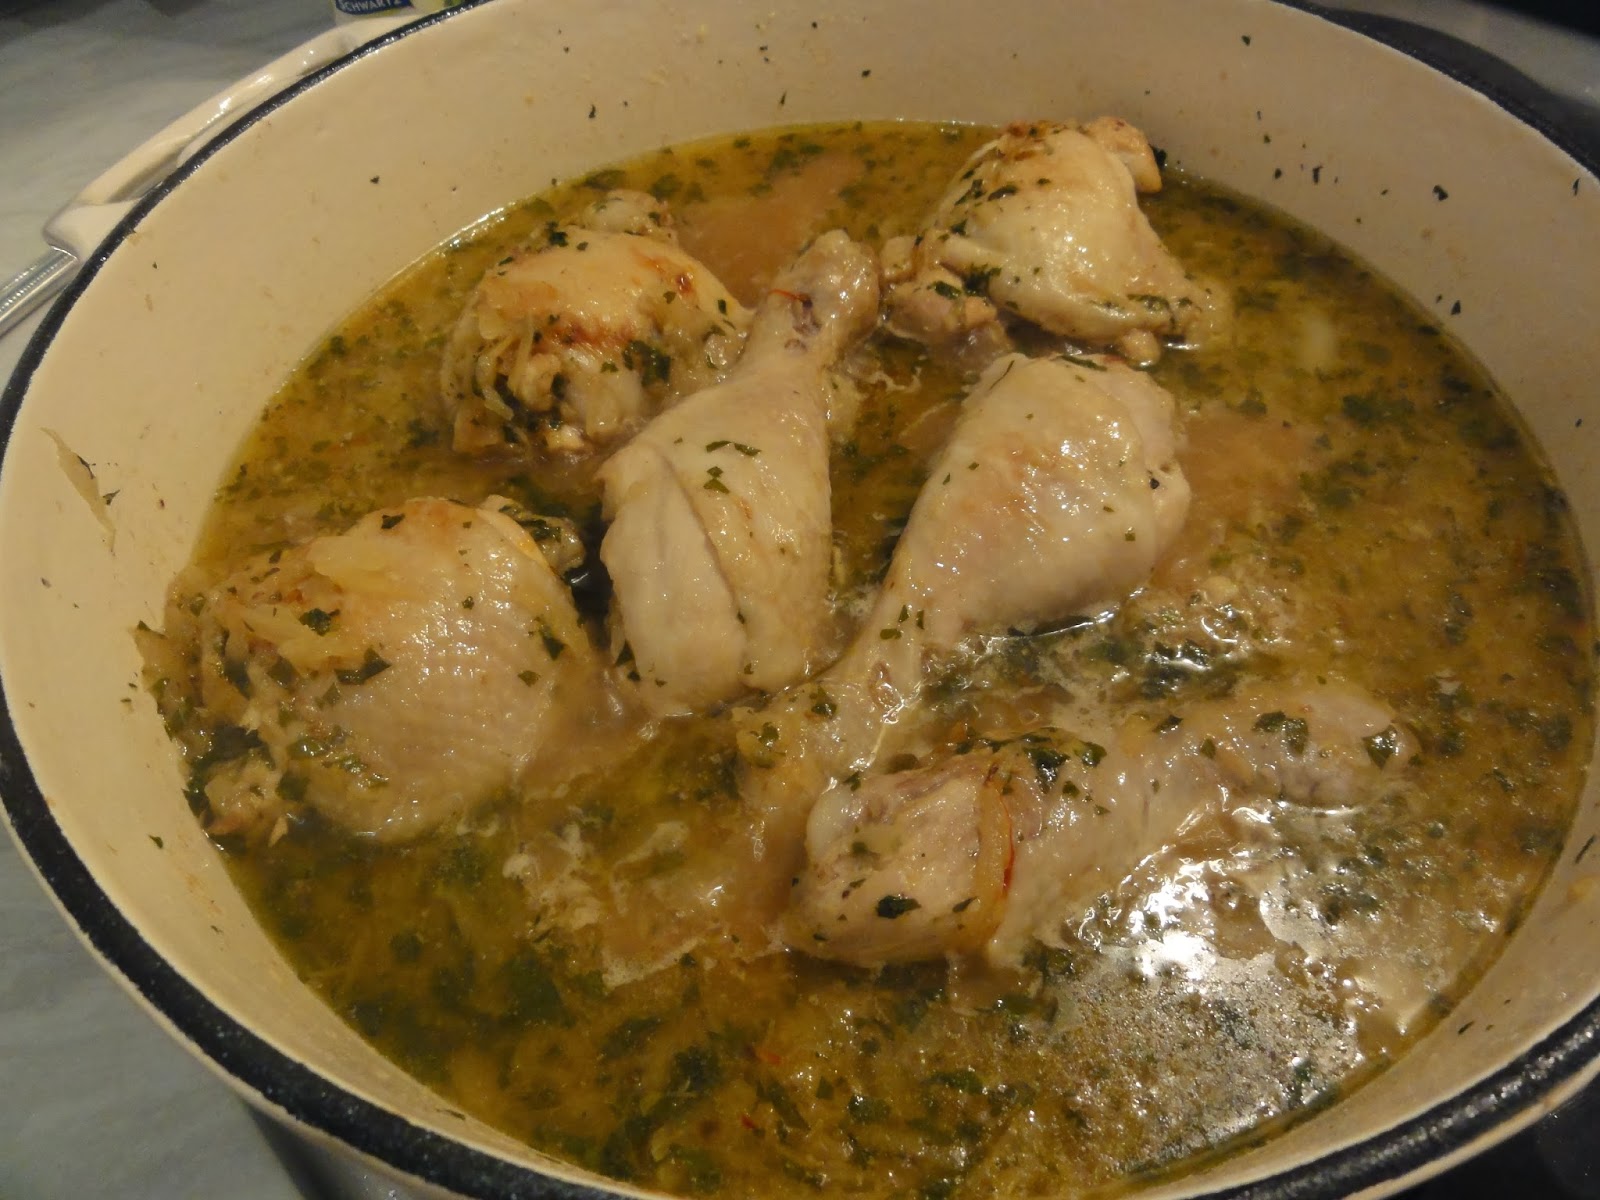
I can't say enough good things about this recipe. The chicken was so tender, it literally fell off the bone and the tagine itself tasted heavenly. I loved the freshness of the flavours and the combination was just perfection.

I think the Thank-You Tagine, went down well!

Please note that this is absolutely not a sponsored post. It's just a really great recipe from a fabulous book. I'm excited to try some more! x

Tagines and Couscous by Ghillie Basan is published by Ryland Peters & Small and is available from rylandpeters.com


Friday, 28 February 2014

Food | Pancake Day {Wheat Free & Gluten Free Pancakes}

For those of you in the US on Tuesday 4th March you might be celebrating Mardi Gras or "Fat Tuesday" (Thanks JP!), but for us Brits we like to celebrate Shrove Tuesday with a pancake.

Yup, no colourful carnival and parades for us, just a good old fashioned pancake!

It became tradition to use up rich foods such as eggs, milk and sugar ahead of the 40 Fasting Days of Lent, and so the humble pancake was born!

Our pancake's are thin like the French Crepes, and usually are made from flour, egg and milk.

How does it work if you're Wheat & Gluten Free then?

Simple, buy yourself some Gluten Free Flour (I like this Doves Farm one) and you're good to go.

You can use normal dairy milk if you like, we just never have it in the fridge so I went with Unsweetened Almond instead.

Here's what you need:

125g Gluten Free Flour
1 egg
250ml Milk
Unsalted Butter, cut into little pieces/chunks ahead of time.


Weigh out your flour and make a well (dip) in the centre.


Add your egg and roughly a quarter of your milk and begin to whisk.


When you are sure that is thoroughly mixed and there aren't any lumps, add the rest of your milk.

And leave to stand for 20 minutes.


Give it a little mix after the resting time and pour it into a jug or easy to pour container, I used a smoothie shaker.


Cut your butter into little knobs ahead of time, and heat your frying pan. I used my small one (20cm) but really something a little bigger would be fine too.


When your butter is melted and you're sure your pan is super hot, pour in a bit of your batter with one hand, and then with the other swirl the saucepan so that you get an even layer over the base.


DO NOT MOVE! Pancakes are supposed to cook really quickly, and if you've got your pan hot enough it will be a mere 30 seconds before you need to toss/flip that pancake!

People's tossing/flipping (ahem) methods differ widely, so I'll leave that one up to you. Although I think throwing it in the air at least a couple of times is always the most fun.

Let it cook on the other side and remove from the pan.

Keep your pan hot, add another little knob of butter, and keep going until you've used up all your batter. I got nine pancakes out of mine.

Topping preferences also differ widely!

I'm a massive fan of the simple freshly squeezed Lemon and Sugar.  Something about the tangy lemon juice and the sweet sugar gets me every time.

Other options to consider are:

- Nutella
- Agave Nectar/Honey and Banana
- Strawberries and Ice-Cream
- A Berry Coulis
- Lemon Curd
- Jam
- Savoury...! (I have a recipe for Savoury filled crepes coming up as part of the Meat Free Monday series)


Just a note, for some reason these pancakes don't seem to get a much colour as the ones I've made in the past with regular flour/milk. They still taste amazing though!

Happy Pancake Day!


Tuesday, 25 February 2014

Food | A Bit of a Pickle {Healthy Turkey Burgers}

When it comes to Burgers (Turkey or otherwise) to pickle or not to pickle is an important question. If you're in the UK and you have no idea what I'm talking about..... it's the humble gherkin, of course!

They are like Marmite, you either love 'em or you hate 'em.

I love them at any time of day and they are particularly good with these Turkey Burgers, however, if you sit firmly in the "haters" camp, feel free to omit.

Unfortunately when I whipped these up I was ridiculously hungry so I didn't photograph the "steps" as usual. You just get a photo of the end result!


They're pretty easy to make, so here goes.

You will need:

- 1 Clove of Garlic (crushed)
- 5 Spring Onions (chopped)
- Salt & Pepper
- 1 tbsp of dried Italian Herb Seasoning (or use some fresh Oregano/Basil if you have them to hand)
- 2 tbsp's of Gruyere (grated or thinly sliced)
- 1/2 a Beaten Egg
- 1 tsp of Olive Oil

For the Toppings and Bun:

- A head of Romaine Lettuce
- Large Vine Tomatoes (sliced)
- Avocado (sliced)
- Large Gherkins/Pickles (sliced)

To make the Burgers:

1. Preheat the oven to 180 degrees celcius. Pop a baking sheet in there to heat up.

2. Put all your burger ingredients in a bowl (apart from the egg) and get messy! You need to get your hands in there and make sure everything is mixed up. Add a good splash of beaten egg (or liquid egg whites if you have them to hand), you just need a bit to bind the mixture together but not so much that it makes the burgers "slimy" or wet.

3. Shape them into four even sized patties/rounds.

4. Put a griddle pan on the hob to heat with a tsp of olive oil. Add your burgers and griddle for about 3-4 minutes on each side.

5. When your burgers have colour on each side, remove them from the griddle pan and put them on the baking sheet in the oven. Cook for a further 10 minutes.

6. A few minutes before the end of the cooking time, top your burgers with the Gruyere to allow it to melt.

7. Assemble your Romaine Lettuce Leaf and Toppings and finish with your burger. Fold and eat!


Some homemade coleslaw and/or sweet potato wedges would be lovely as a side but we were too hungry for that bit! Enjoy x