Showing posts with label Decorate. Show all posts

Tuesday, 11 February 2014

Home | For the love of Lamp Room Gray

So after sharing my Kitchen Candy with you last week I set about making that transformation happen this weekend.

I'm not going to lie, it did take me all weekend, but the end result is so worth it. It feels like a new kitchen!

Before we get to the after photo's I thought I'd run through how I got there.

1. Take all the cupboards and drawers off.
2. Remove existing handles.
3. Fill the holes left by handles with wood filler.
4. Sand back said holes, and repeat.
5. Time to prime! I used Zinsser 1-2-3 Primer and Sealer after reading lots of good things about it's staying power online. Give everything a good even coat of primer, let dry.
6. I used Farrow and Ball Estate Eggshell Paint in Lamp Room Gray. Now you might be thinking that doesn't sound very budget but I felt like splashing the extra cash on good quality paint was worth it, I only want to paint the kitchen once, and it's going to get a lot of use.
7. Apply two even coats of the F&B, leaving 2-4 hours drying time between each coat.
8. When you're sure your paint is absolutely cured you can start drilling the holes for your new hardware. I bought mine from Ikea as I liked the contrasting white handles with the grey paint.
9. Re-attach the cupboards and drawers to the units.
10. Do your happy dance!

Here's a Budget Breakdown for this part of the kitchen update:

£15.94 Primer
£20.99 F&B Paint
£25 New Handles and Knobs from Ikea

£61.93 Total

So here's what we started with....


And here's where we are now. With grey base cabinets, oak work tops and a new white ceramic sink (I put those up on Facebook last weekend so most of you will already have seen them). Oh and the flooring is new too.


There's still a crazy amount to do on this Kitchen Update on a Budget. It's very much a work-in-progress but I can't wait to share more photo's with you next week!


Saturday, 1 February 2014

Home | Kitchen Candy

After a few days off from the Blogging Marathon that was the 21 Day Detox I'm excited to be back and talking about something completely different....our house!

Now if you guys have been reading along for a while you'll know that Dan and I bought a house back in September 2013. Aaaaannd, we still don't live there! I know, crazy.

It was previously rented out to students so was in a pretty bad state when we bought it. We knew there was some stuff that was out-of-date and needed to be done straightway like the plumbing, central heating and electrics but then there was one area I thought we could just live with.

I present to you la cucina, la cuisine.... the kitchen (and laundry/utility room).


We always knew we would tear out the laundry/utility but we thought that perhaps with just a little TLC (e.g. Damp Treatment) we could live with the kitchen for a couple of years and save up for "The One".

And then we realised the existing kitchen just wouldn't work for us. There is plenty of storage but no room for a Fridge/Freezer or Dishwasher (Princess Daniel doesn't wash up, but he does load and unload the Dishwasher very nicely, so for the sake of my sanity a Dishwasher is an Essential Appliance in our house).

So it was back to the drawing board. There was still no room in our budget to completely re-do the kitchen but we could scale down a couple of other areas and give the kitchen a £1500 allowance for a little face-lift.

And then the pinning/researching frenzy happened.

I love the look of a mix-match colour scheme, grey base cabinets and white uppers. I like open-shelving and clean, bright, white spaces. Our kitchen is North Facing and doesn't get a lot of natural light so some brightening treatment was a top priority.

Just so you can picture it all. This is my ultimate Kitchen Candy.


All Images Courtesy of Pinterest.

Got the gist?

So here's where we are with the big old kitchen re-vamp.

So far we have:

- Removed the upper cabinets and tall larder
- Steamed off the old lining paper
- Had the room re-skimmed
- Had new spotlights fitted
- Had new flooring fitted
- Bought and built an island
- Bought new worktops
- Bought new sink (we're using the existing tap)
- Had the plumbing adjusted to accommodate a dishwasher
- Primed the lower cabinets ready for their paint job
- Bought new handles for the cabinets
- Mist coated the new plaster work

There's still a big old to-do list to go. This weekend I'm painting those lower cabinets. The decision-making on the colour was extensive but we got there in the end!

I can't wait to come back with some before and after photo's.

In the meantime, a little house-tour will be going up on YouTube. I have lots of friends and family who don't live in Bristol so it's nice for them to see what's occupying all my free-time. It's a "warts and all" kind of tour, set your expectations low!

What are you guys up to this weekend? The sun is actually shining in Bristol today, it feels like it just rained for the whole of January, and I want to go out and hug those Vitamin D rays!

Wednesday, 13 November 2013

Life | Boy Bedroom Makeover

In fairness to Dan the title of this post is slightly mis-leading; his flat is so lovely, I have absolutely nothing to complain about. But when I moved in over the summer I couldn't help but make a few tweaks to the space to make it feel like home.

Fear not, this isn't about to be a re-hash of the very scary scene in "How to lose a guy in 10 days", (watch the trailer at about 40 seconds in), if you can't because you're at work just imagine frills and tampax EVERYWHERE.


Anyway, I already had a great neutral canvas to work with. I actually chose the wallpaper because when we first got together there had been a leak in the roof which had ruined what was already there. After a little trip to the end-of-line bin in John Lewis we were all sorted.

Before I got my little mitts on it, this is what the roomed could look like on any given day. Pretty messy and blah, huh?


Seriously, how much aftershave does one boy need?


After a little tidy up and some accessories it now looks like this! And I love it. Still neutral but more cosy and interesting.

I added some pillows and a throw, that's it. The throw (£14.99) and stripy pillows (£6.99 each) are from TK Maxx, and little miss "ooh la la"(£7) is from Asda.

Total makeover cost: £35.97.


A (free) tidy-up of the bedside tables keeps them looking pretty.


Oh, and then I added this heart to the wardrobe door.....I don't think he's even noticed, yet!


What do you think? When is it too soon to "make-your-mark" on your boy's pad? Never?! I can't wait to decorate our room in the new house. It will be still be neutral, as much as I love vintage and shabby chic I can't handle anything too patterned and floral (Dan breathes a sigh of relief).

Speaking of the new house. It's all starting to come together, finally! Phew. A little update on that coming soon.

On a side note - why do I have such a good memory for cheesy music and films circa 2000?

Monday, 28 October 2013

Home | Reno Update

There's a lot going on with the house renovation at the moment. 

I seem to spend most of my waking hours thinking about all the different complexities and challenges, and importantly what needs to happen next. Project management is not an easy job and yet at the same time, I love buildings and design, and most of all - I love this house. 

The groundwork for the new plumbing went in this week, as well as the stud work for the new family bathroom and some to square off the en-suite.

All the bathroom fixtures also arrived, as well as the new radiators......so many boxes!! Fingers crossed everything we need is there. 

The plumber and the electrician come in to do their first fix this week, I could not be more excited! Because once that's done we can start putting the house back together again. I'll check in with a little update on how that goes but for now here's a little sneaky peek at a few things that changed this week.

We uncovered this old fireplace in our en-suite. We're not going to cover it but have it plastered (with an air-vent concealed in the top) and use it to store our laundry basket. Got to love a feature turned happy function.


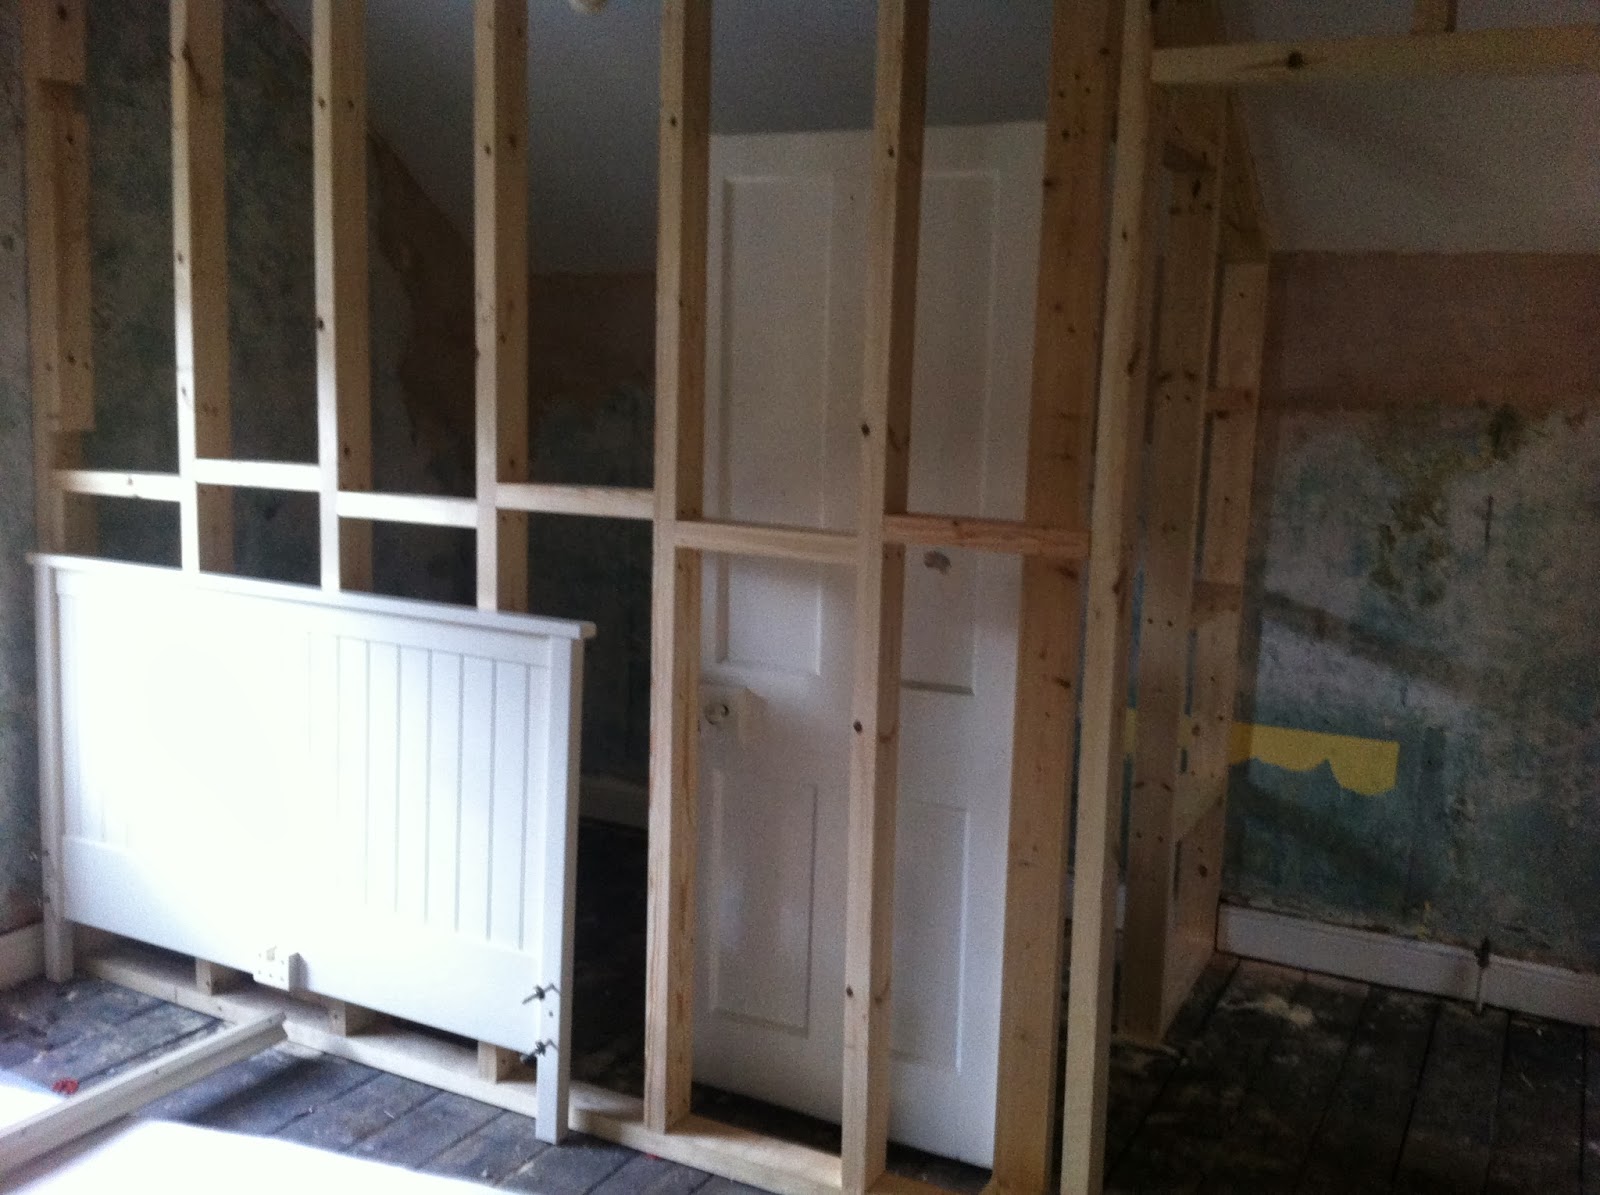
This is what our bedroom looks like now we took the stud wall down. Remember it used to be the only bathroom in the house?

Although it's a lovely big room, it's actually pretty difficult to figure out where to put our bed and wardrobes/storage. Every wall has it's drawbacks so it's proving to be a bit of a head-scratcher right now (more on that later). I'm sure we'll figure it out but our interim solution is to ask the electrician to make provision for bedside-table sockets on two walls in the room and then at least we have options.

And that tub weighs a ton - it's bona fide cast iron. Hello gumtree....anyone that can actually lift it down a flight of stairs is welcome.


Last but by no means least, the new stud walls for our Family Bath on the top floor are in. The space can only be described as small but perfectly formed!

There's a Velux going into the roof you can see on the right to provide some natural daylight. I like that all our bathrooms will have windows, although we still need to provide proper ventilation to comply with Building Regs.


And that's it for now. Wish me luck with the first-fix fun!

Thursday, 24 October 2013

Home | Pimp My Dresser

Yes, that is a play on words from that popular MTV show of yore, does it still exist?!

Anyway, there's about a thousand things happening in the house right now; it's a never-ending To-Do list. The progress ain't exactly at the prettying-up stage and won't be for quite some time, so I decided to do a little makeover with super-quick results.

Enter stage left: The Dresser (or Chest of Drawers).

This was the first piece of furniture I bought that wasn't a hand-me-down/second-hand/Ikea find. I got it with 20% off (Marks & Spencer have deals on their furniture all the time) and I was smitten by her clean lines, and the fact that she fit so perfectly into the space I needed her to.

Fast forward two years and there's one thing about her that has bugged me the entire time. Her knobs.


They're just too functional and kitchen-feeling for this kind of piece. To be honest I think good old M&S cheaped-out at the end of production, and we all know how I'm a sucker for the small details so I've been keen to switch 'em out ever since she arrived.

I had grand ideas in my head of biding my time and just stumbling across ten beautiful new knobs on-sale at around £1 each. Having forked out a pretty-penny for her in the start I didn't want to spend too much on a make-over.

Two years of searching later, and I hadn't come across my beautiful but bargainous knobs. There are some stores out there that have a great selection but the ones I liked were all in the £4-£6 (plus shipping) range and I just wasn't keen on making that kind of investment for a quick update. I also considered painting cheap wooden ones bright colours, which would be fun but just not really the look I'm going for right now.

And then whilst I was browsing the aisles in B&Q (as I often do these days, it's my second home), I came across these little beauties.


See how they sparkle? Well no you probably don't because the lighting is terrible in these pictures, it get's dark so early these days #bloggerproblems.

Anyway here's the before shot:


And here's the after, so pretty!


These photo's absolutely don't do her justice, you'll just have to trust me on this one. She's a stunner.

And while I was on a knob switching-mission, Dan's old wardrobe in the guest room got a little make-over too.

See those blah white wooden knobs before?


Now you don't....


Mr Wardrobe is sporting a lovely pair of brushed-chrome-effect knobs (a little gift from Miss Dresser).

Doesn't he look smart?

And all for a grand total of £27.84. The knobs were £3.48 each but then I got two free due to an offer that's on at the moment. And it took all of 5 minutes, got to love a speedy make-over.

Not quite the £10 I had in mind, but also not the £40-£60 I was dreading.

How about you guys? Any cool mini-makeovers happening in your house?


Note: Marks & Spencer (M&S) and B&Q have absolutely no idea who I am. I'm talking about these products because I bought them myself and happen to like them.